Tips & Tricks: Moka Pot (Stovetop) Coffee
- 20 August 2021
- Jacqui Allison
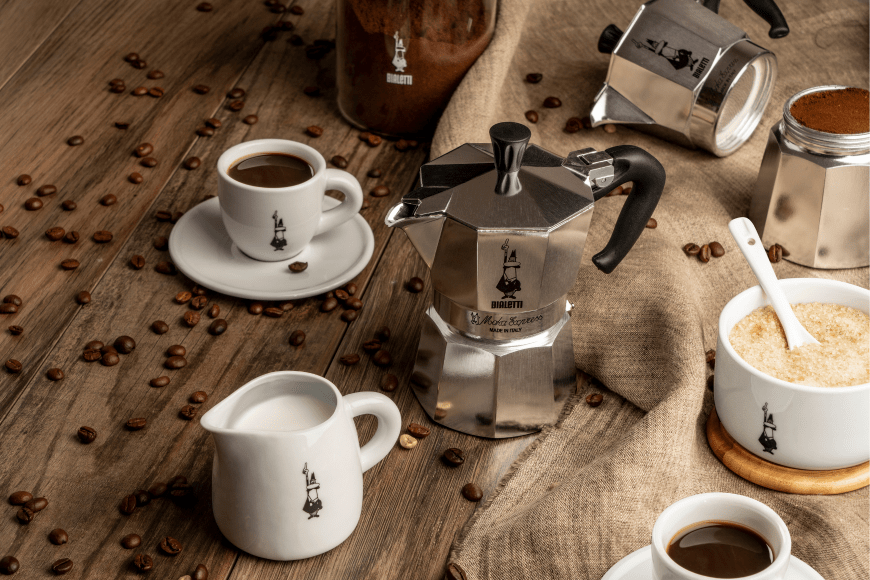
Moka Pot or Stovetop coffee has been around since the early 1900s, and is arguably one of the best methods for brewing a smooth yet strong cup of delicious coffee at home, with very little effort. The classic octagonal shaped Moka Pot that we know & love was put into production by Alfonso Bialetti, a name that is still common in coffee-lovers homes today.

To prepare your stovetop coffee:
- Fill the bottom chamber with cold water. Never fill above the level of the valve. You can use less water than the full chamber, to achieve a shorter, stronger brew.
- Fill the Moka pot funnel/basket with coarse espresso ground coffee. You can use standard espresso grind in your Moka pot, but a grind that is just slightly coarser than this will produce the perfect coffee. Do not tamp or press down the coffee grinds, you want the basket to be loosely filled. If you overfill the basket, use the back of a knife or your finger to level it off before brewing.
- Put the Moka pot back together and place on your stove on a low-medium heat. Brewing stovetop coffee on high heat will give the coffee a burnt, bitter taste that is unpleasant to drink. If you are using a gas stove, you will often need to use the smallest element available on the lowest possible setting. Make sure the flames aren’t licking up over the sides of the pot, or they could melt the handle or warp a painted pot.
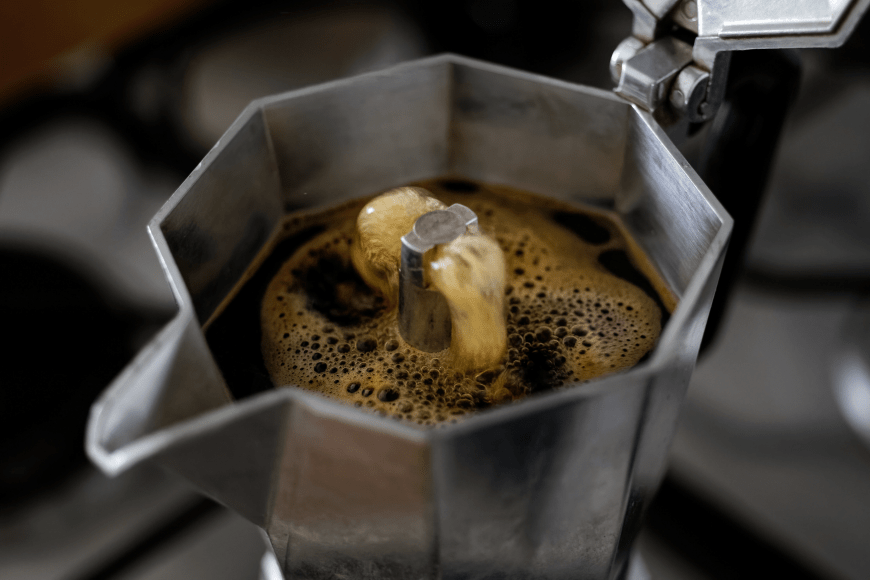
- Brewing will only take a few minutes (10mins is plenty!), depending on the size of the stovetop coffee maker and the intensity of the heat from the stove. Once the coffee bubbles to the top, remove from the heat immediately to stop the brewing process.

Tips & Tricks
- In most coffee brewing methods, ‘1 cup’ refers to 1 demi-tasse, or about 60mls of brewed coffee
- Stovetop brewing releases more caffeine than methods such as drip/filter or french press. If you’re switching from one of these methods to a stovetop, then we would recommend brewing less coffee in the stovetop & using hot water to top up to the desired size coffee mug. This is more likely to provide a brew to your taste
- You can underfill the water chamber in order to brew a shorter, stronger cup, but make sure you always completely fill the funnel/basket with ground coffee. If you half-fill the basket, the water will take the easiest route, floating the coffee as it brews and providing a much weaker coffee as an end product
- You can experiment starting with cold or hot water in the bottom chamber. Our preference here at The Coffee Company is to start with cold water, but a lot of our customers prefer the hot water method. Try both out for yourself and see if you can taste the difference!
Cleaning & Care
- Always hold the Moka pot and twist from the base and the main section of the top brew chamber; don’t use the handle as a cantilever to twist as this can cause the handle to snap off
- Right after brewing, the Moka pot may be difficult to separate as the metal expands with heat. Try cooling the pot under running water, or giving it some time after brewing before you try to separate the pot for cleaning
- Wash your Moka pot in warm water and dry thoroughly. You do not need to use detergents as these can leave a residue behind that will taint the taste of your next brew. Note: For newer stainless steel pots, a mild detergent is able to be used during cleaning without effecting the next brew, provided it is well rinsed after washing
- Store the top and bottom half of your Moka pot separately. This will help to prevent scale build up or oxidisation that can make separating the two halves of your pot very difficult
- Replace the rubber seal and filter plate in the top half of your Moka pot regularly to maintain optimum brewing quality.
Relevant Products:
- Bialetti Moka Express
- Bialetti Moka Express Black
- Bialetti Moka Induction Bi-Layer
- Bialetti Brikka
- Bialetti Kitty Induction
- Bialetti Venus Induction
- Bialetti Musa Elegance Induction
- Bialetti Replacement Parts
